Concrete surfaces are popular choices for many residential and commercial spaces due to their durability and versatility. However, when it comes time to enhance these surfaces with an epoxy floor installation, removing existing paint from concrete can pose several challenges.
Addressing these issues effectively is crucial to ensuring a smooth and successful application of quartz floor epoxy. This guide will help you troubleshoot common problems with concrete paint removers and provide tips to achieve the best results.
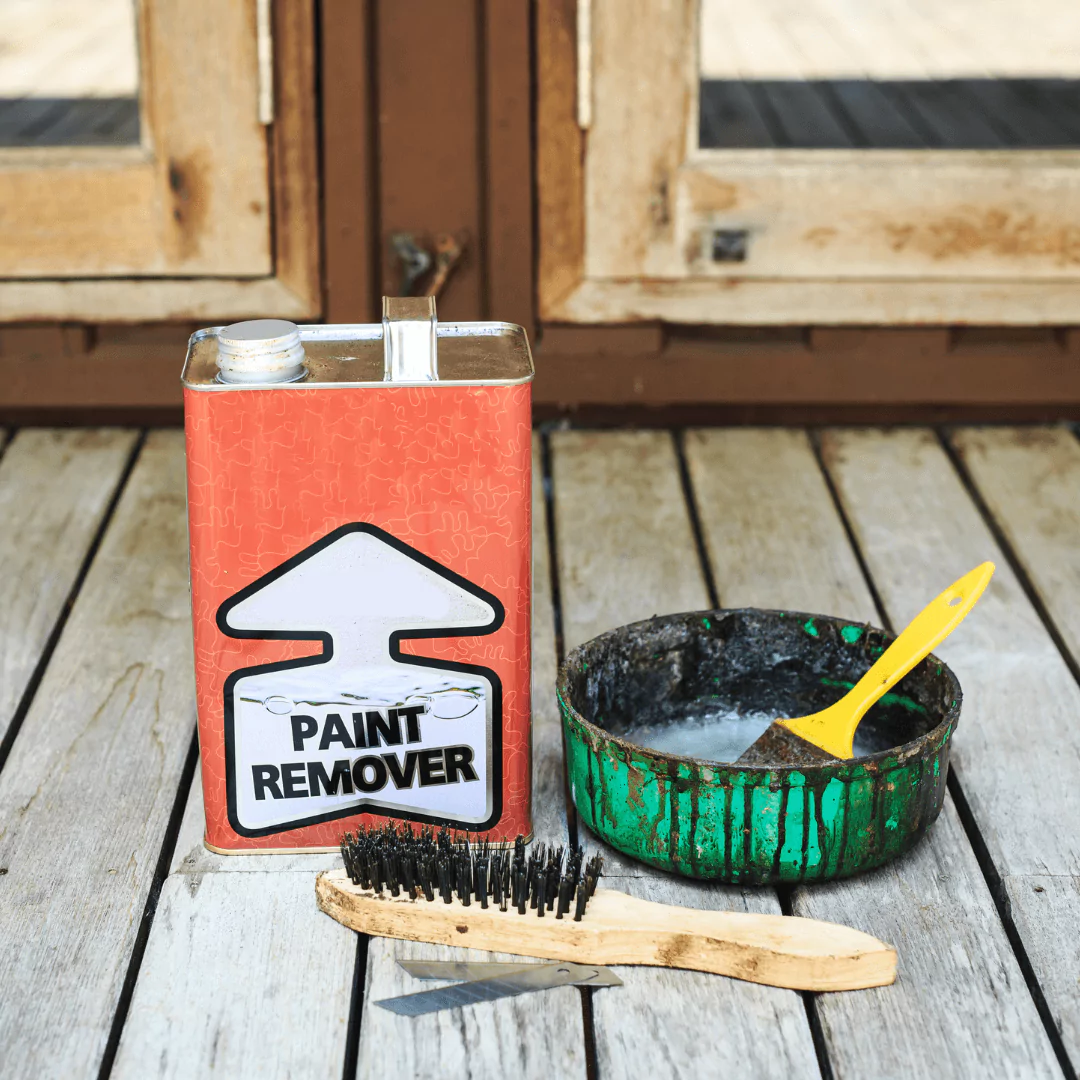
Understanding Concrete Paint Remover
Concrete paint remover is a chemical solution designed to strip paint from concrete surfaces. These removers break down the paint, making it easier to scrape or wash off. However, improper use or unexpected surface conditions can lead to complications. Here are some common issues and their solutions:
1. Insufficient Paint Removal
Problem: Despite following the instructions, you find that the paint isn’t completely removed, leaving patches that can affect the final epoxy finish.
Solution:
- Multiple Applications: Some layers of paint may require more than one application of the remover. Apply a second or even a third coat, ensuring ample time for the chemical to work.
- Mechanical Assistance: Use a stiff brush or a scraper to aid the chemical process. In stubborn areas, mechanical grinding might be necessary to ensure complete paint removal.
2. Residue After Removal
Problem: After removing the paint, a sticky or oily residue remains on the concrete surface, which can interfere with the adhesion of the quartz floor epoxy.
Solution:
- Thorough Rinsing: Rinse the surface thoroughly with water. Using a power washer can help remove any remaining residues.
- Detergent Wash: Sometimes, using a mild detergent solution followed by a thorough rinse can eliminate residues left by the paint remover.
3. Damage to Concrete Surface
Problem: The paint remover damages the concrete surface, leading to etching or pitting that could affect the appearance of the epoxy finish.
Solution:
- Choose the Right Remover: Ensure you are using a paint remover specifically designed for concrete. Some removers are too harsh and can damage the surface.
- Test Patch: Always perform a test patch in an inconspicuous area before applying the remover to the entire surface to ensure compatibility.
4. Inconsistent Paint Removal
Problem: The paint is removed unevenly, resulting in a patchy surface that is unsuitable for epoxy floor installation.
Solution:
- Uniform Application: Apply the paint remover uniformly across the surface. Ensure that the thickness of the application is consistent to avoid uneven removal.
- Surface Preparation: Clean the surface thoroughly before applying the remover to ensure even contact. Any dirt or grease can cause inconsistent results.
5. Environmental and Safety Concerns
Problem: Handling and disposing of chemical paint removers can pose environmental and safety hazards.
Solution:
- Ventilation: Ensure the area is well-ventilated to avoid inhaling fumes. Use fans or open windows to improve air circulation.
- Protective Gear: Always wear protective gear, including gloves, goggles, and masks, to protect yourself from chemical exposure.
- Proper Disposal: Follow local regulations for disposing of chemical waste. Never pour paint remover down the drain or into the soil.
Preparing for Epoxy Application
Once the paint is successfully removed, the concrete surface must be properly prepared for the epoxy floor material application. Here are the steps to ensure a flawless finish:
1. Surface Cleaning
After removing the paint and any residues, the concrete must be cleaned thoroughly. Use a high-quality concrete cleaner or a mixture of trisodium phosphate (TSP) and water to remove any remaining dirt, grease, or oil. Rinse the surface well and allow it to dry completely.
2. Surface Profiling
For the epoxy floor installation to adhere properly, the concrete surface should be roughened slightly. This can be done using acid etching or mechanical grinding. Acid etching involves applying a solution of muriatic acid and water to the surface, while mechanical grinding uses a grinder to create a profile.
3. Moisture Testing
Moisture in the concrete can prevent the epoxy from adhering properly. Use a moisture meter to check the moisture levels. If the moisture content is too high, you may need to use a moisture barrier before applying the epoxy.
4. Crack and Hole Repair
Inspect the concrete for any cracks or holes and repair them using a suitable concrete patching compound. Allow the patches to cure completely before proceeding with the epoxy application.
5. Primer Application
Applying a primer before the epoxy ensures better adhesion and durability. Use a high-quality epoxy primer and follow the manufacturer’s instructions for application and curing times.
6. Epoxy Application
Once the primer has cured, you can apply the quartz floor epoxy. Mix the epoxy components as per the manufacturer’s instructions and apply them evenly using a roller or a squeegee. For a quartz finish, broadcast quartz granules onto the wet epoxy. Allow the first coat to cure before applying additional coats if needed.
Conclusion
Addressing these common issues with concrete paint remover is crucial to achieving a successful epoxy floor installation. By understanding the potential problems and applying the appropriate solutions, you can ensure a smooth and durable finish with your quartz floor epoxy.
For professional assistance and high-quality epoxy flooring services, consider reaching out to experts like Apex Epoxy Flooring in Boca Raton.
By taking these steps and paying attention to detail, you can transform your concrete surfaces into beautiful and durable epoxy floors that will stand the test of time.